Vegan Chocolate Midnight Cupcakes with Italian Meringue Buttercream

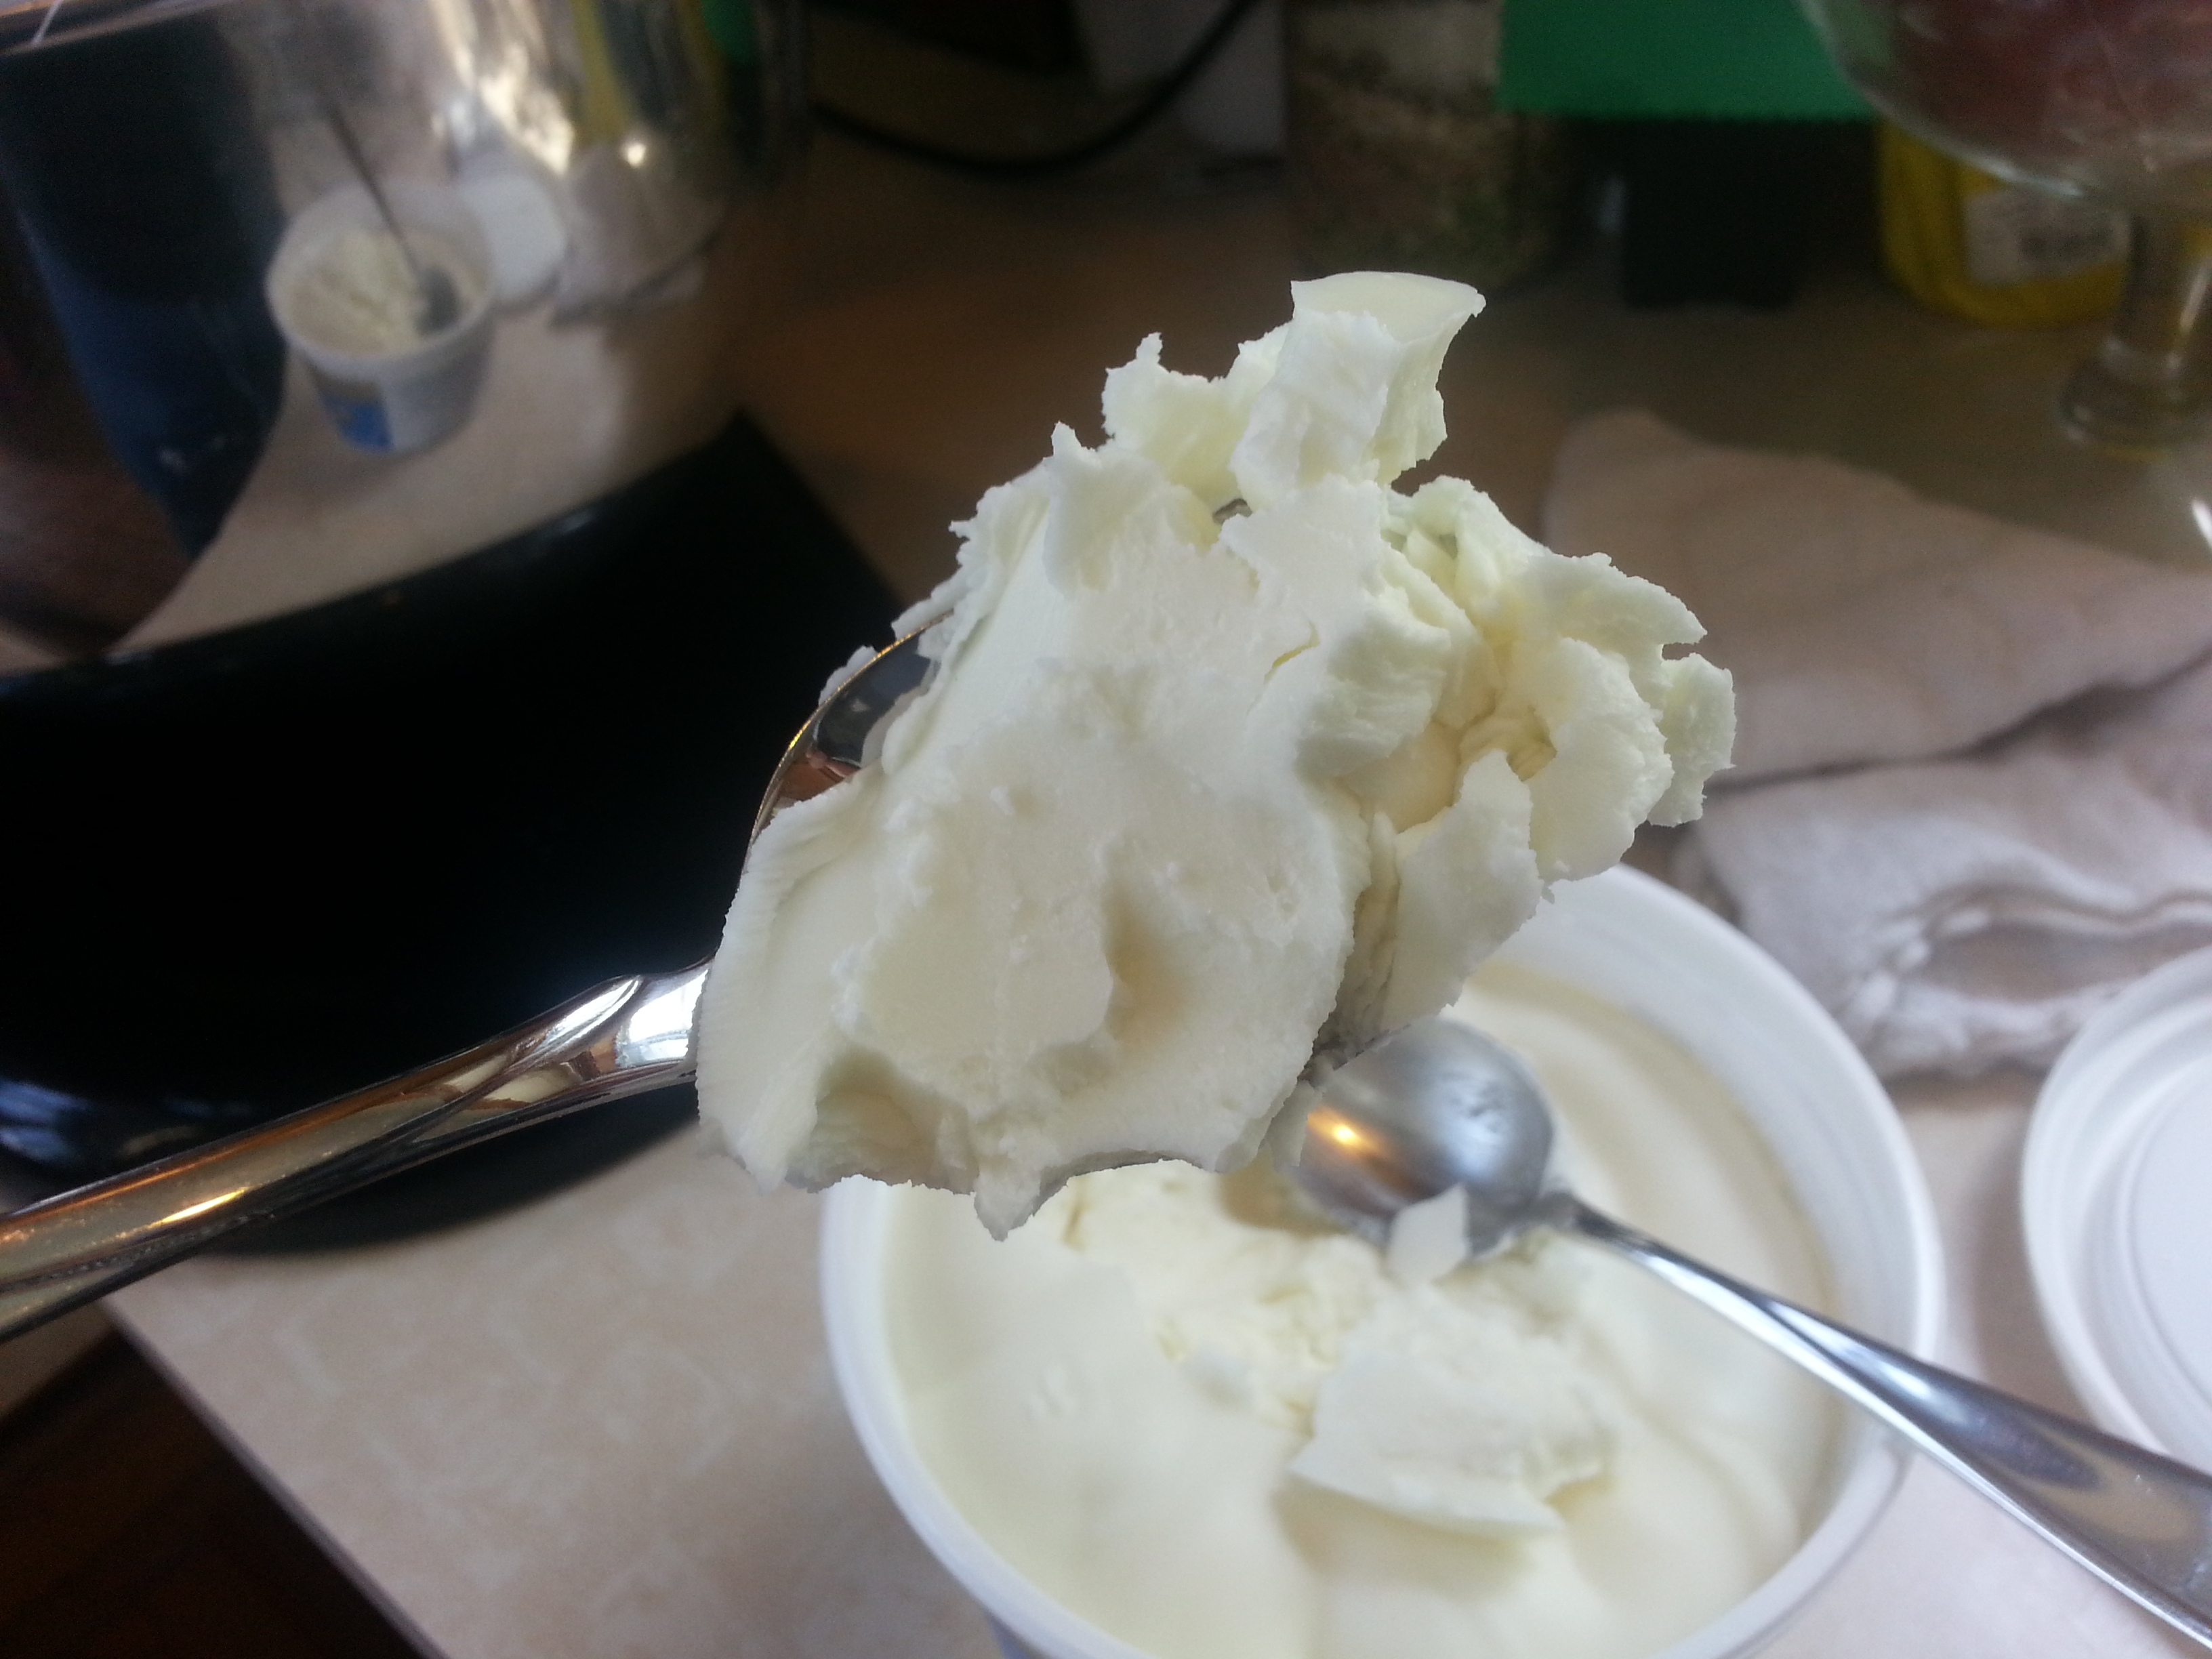
Having made a huge batch of Vegan Italian Meringue Buttercream in the process of writing up my recent blog post, I needed to put some of it to good use.  Clearly cupcakes were in order.

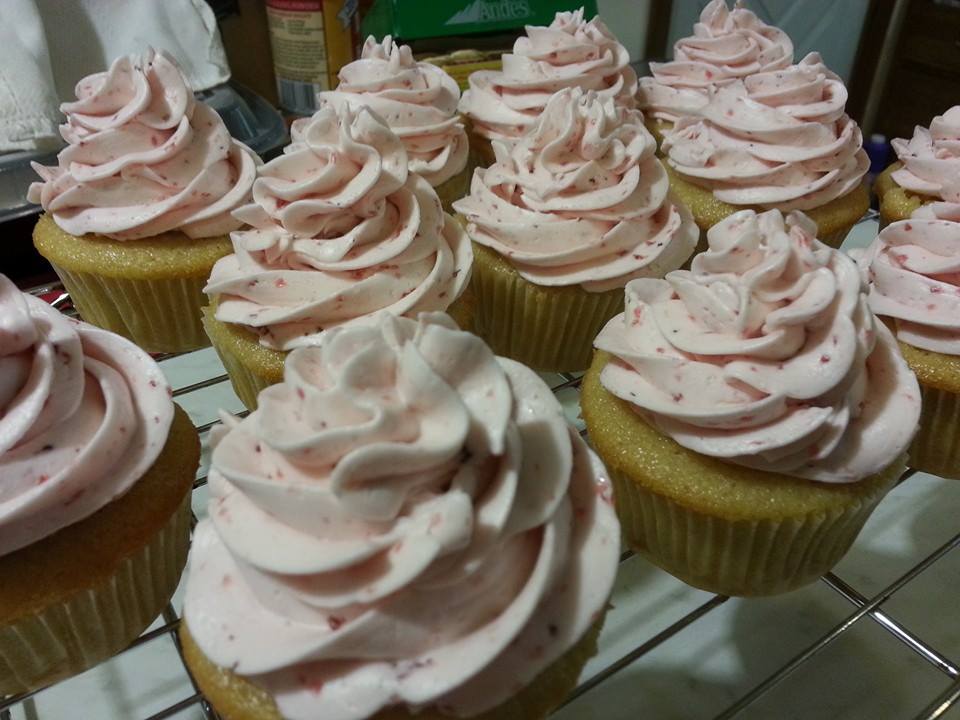
Chocolate cake with vanilla icing is a classic combination, and difficult to resist.  I turned to Rebecca August’s excellent Chocolate Midnight Cake recipe as posted in the Vegan Meringues — Hits and Misses Facebook group.

Chocolate Midnight Cupcakes
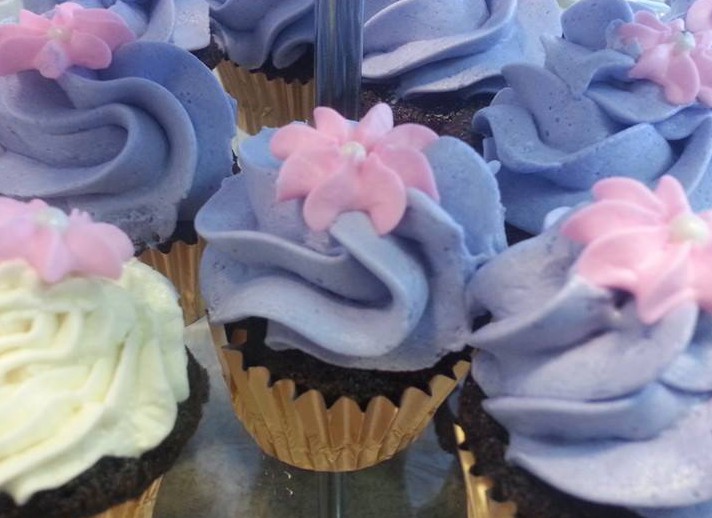
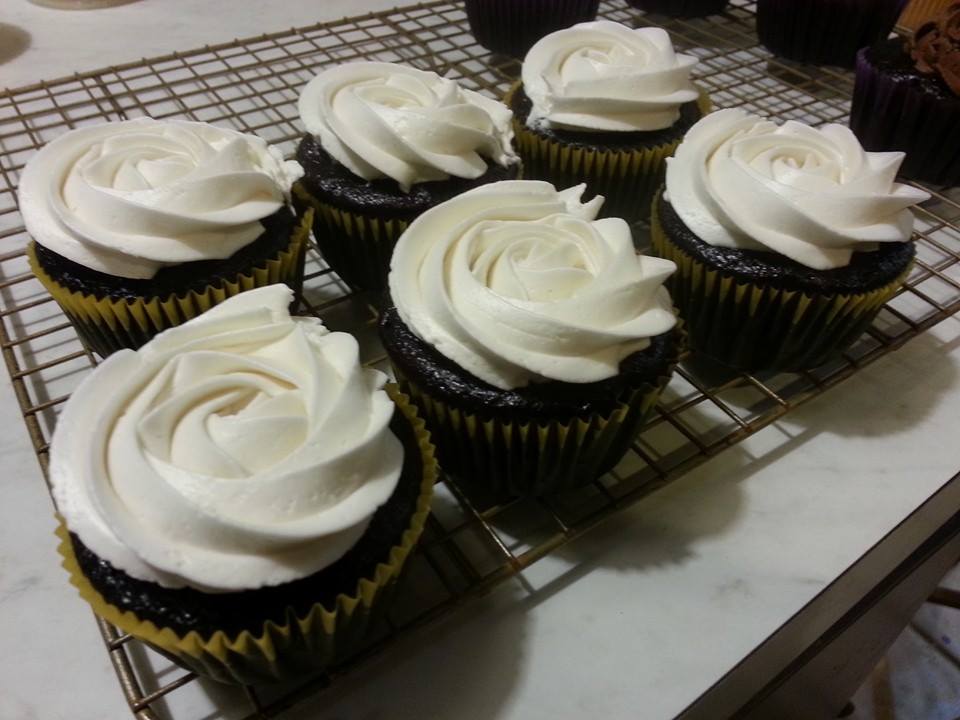
Some of these beauties went off to a bake sale, but the rest stayed home to share with friends.  They were so popular and so delicious that I may just need to make another batch.

When making these, have your pans ready to fill as soon as the batter is mixed, and be prepared to bake them all at once.  Your cupcakes will be best if they go into the oven as soon as possible after mixing.

Chocolate Midnight Cupcakes

Makes 24 cupcakes.

Ingredients

  • 2 cups all-purpose flour
  • 1 cup sugar
  • 1/2 cup cocoa powder
  • 1/2 tsp salt
  • 1 tbsp baking soda
  • 1/3 cup canola or other mildly-flavored oil
  • 1/3 cup aqua faba (the liquid drained from a can of chickpeas or other mildy-flavored beans)
  • 1 cup unsweetened non-dairy milk
  • 1 cup hot, brewed coffee

Directions

  1. Preheat your oven to 350ºF.
  2. Line 24 muffin cups with paper liners and set them aside.  If you won’t be able to bake all 24 cupcakes at once, divide the recipe.  These cupcakes will have the best texture when the batter goes into the oven immediately after mixing.
  3. Sift flour, sugar, salt, cocoa, salt and baking soda into a medium-sized bowl.
  4. Add oil, milk, and aqua faba, and stir with a spoon until smooth.
  5. Stir in hot coffee until smooth. The batter will be very thin.
  6. Divide batter evenly into 24 muffin cups.
  7. Bake at 350ºF for 18-20 minutes.  Check early and don’t overbake.  Cupcakes are done when a toothpick inserted in the center comes out clean and they spring back when pressed lightly in the center.

When the cupcakes are cool, frost with vanilla Italian Meringue Buttercream, (the recipe as written will make far more than you’ll need — halve it, and/or freeze the rest of the icing in an airtight container for another day).

Posted in Cakes, Frostings | Tagged , , , , , | 6 Comments

Egg-Free, Dairy-Free, Vegan Italian Meringue Buttercream

Italian Meringue Buttercream without eggs or dairy?  Impossible, you say?  Not with the miracle of aqua faba (the liquid drained from a can of beans)!

If you’ve never had Italian Meringue Buttercream before (or its cousin, Swiss Meringue Buttercream), you’re in for a real treat.  I often say that IMBC is the finest icing on Earth — silky smooth, light, and not too sweet, it’s a wonderful change from the confectioner’s-sugar-based American Buttercream, which some would argue isn’t a proper buttercream at all.  Meringue Buttercreams are very often used on wedding cakes, and with good reason.  They look great and taste luxuriously elegant.

11061334_10153450238039179_1004034007435769031_nFor my initial experimentation with this recipe, I chose 100% organic palm oil shortening because others have reported success using it as a butter substitute in egg-based IMBC — it’s creamy and luxurious, and creates a buttercream with a lovely texture, which pipes like a dream.  Unlike its conventional counterpart made with dairy butter, it is a brilliant white color, even if you add real vanilla extract.

Cupcakes with royal icing flowersI’ll be honest and say that IMBC made with palm shortening does lack a certain depth of flavor associated with conventional IMBC; traditionally speaking, the flavor of dairy butter is front-and-center in the flavor profile.   However, the texture of this icing is phenomenal, and I encourage you to consider this “blank slate” flavor to be an opportunity rather than a detriment.

If you use aqua faba straight from the can, you may find that your buttercream is softer and more fluffy than the conventional kind.  If you’re just icing a cake, this won’t be a problem, but if you’re hoping to use it as a base under fondant, you’ll want to make a stiffer version by reducing your aqua faba first.  Simmer it gently until it’s reduced to half of its original volume, and measure after reduction.  Reduced aqua faba can have a slightly caramelized flavor.

If you’ve never made a meringue buttercream before, the process can seem a little daunting.  However, I promise you that your efforts to master the technique will be more than worth it.

One word of caution: Don’t undertake this without a proper candy thermometer!  You don’t need a whizzy one like I show in the pictures below, but you definitely need one.  You’ll need to bring your sugar syrup to a specific temperature, and that’s not something you should guess about.

You can learn more about the amazing things you can do with aqua faba by joining the Vegan Meringues — Hits and Missses Facebook group.

Vegan Italian Meringue Buttercream Recipe

Makes approximately 8 cups.

Special Equipment

  • Stand mixer with whisk and paddle attachments.
  • Candy thermometer

Ingredients

  • 1/2 cup cold water
  • 2 1/4 cups granulated sugar
  • 1 cup aqua faba (the liquid drained from a can of chickpeas or other mildly-flavored beans — see note above about reducing the liquid before you start if you need a firm buttercream)
  • 20 to 24 ounces (about 3 to 3 1/2 cups) 100% palm oil shortening(*), at cool room temperature
  • 1 tsp vanilla extract

Directions

  1. Place the aqua faba into the bowl of a stand mixer that has been fitted with the whisk attachment.
  2. Sugar and water in a saucepanPut sugar and water in a non-reactive saucepan, and whisk or stir until blended.  Place the pan over medium low heat until the sugar is fully dissolved.  Remove any grains of sugar on the sides of the pan by either a) heating briefly with a lid on the pan, or b) brushing the insides of the pan with a heat-safe pastry brush dipped in cold water.
  3. Attach your candy thermometer so that the tip is submerged in the sugar syrup, but is not touching the bottom or sides of the pan, and start the mixer on low speed.  At this point, you may increase the stove temperature to medium, or even medium-high if you’re prepared to pay close attention to it.20150508_115513
  4. When the sugar syrup reaches the soft ball stage (about 234ºF), turn your mixer speed to high.  This is not a magic temperature, and if you’re using reduced aqua faba, you may want to start a little later.  The goal is to get your meringue to very stiff peaks before you add the sugar syrup to it.  Exactly when to turn up your mixer will vary depending on your mixer, your aqua faba, and how high the heat is under your saucepan, so start with this, and make adjustments as necessary for future batches.  If you are able, take note of the progress of the meringue as your sugar syrup rises in temperature, and turn the temperature down or up to try to get the timing right.
  5. When your sugar syrup reaches 248ºF, remove it from the heat and verify that your meringue has reached very stiff peaks.  You can wait a couple of minutes at this point if you need to, but try not to wait too long.Stiff (Reduced) Aqua Faba Meringue Peaks
  6. With the mixer still running on high speed, slowly pour in the sugar syrup, trying to carefully hit the sweet spot in between the spinning whisk and the side of the bowl (otherwise you might splatter sugar syrup everywhere…but don’t worry if you do, just keep going!).  Sugar syrup is very hot!  Be careful!Meringue with sugar syrup added.
  7. Your meringue will probably increase in volume as you add the sugar syrup, and when all of the syrup is added, it should be thick and fluffy.  At this point, stop the mixer and change to the paddle attachment.
  8. Cooling Meringue with an Ice PackTurn the mixer back on high, and keep beating until the meringue has cooled off to room temperature, which can take several minutes.  During this time, the meringue will become glossy, and may decrease a bit in volume.  Touch the sides and bottom of the bowl to ensure that the meringue is completely cool before continuing — otherwise the heat of the meringue will melt your fat, and you’ll get soup, not buttercream!  If you’re impatient, you can speed up this process by putting an ice pack against the bottom and/or sides of your mixer’s bowl.
  9. Now it’s time to add the shortening, vegan butter, or other fat.  With the mixer still running, add small pieces to the meringue, one at a time.  If you’re using shortening in a tub, scoop out spoonfuls and toss them in; if you’re using margarine or other products that come in a stick, cut it into small pieces first, and toss them in one by one.  You will probably lose some more volume as you start adding fat, but that’s expected.Palm Shortening in Small LumpsNote: As you are adding your fat, your buttercream may “break.”  (If you’re not sure what this means, don’t worry — if it happens to you, you will know!  If your buttercream looks curdled, just keep beating with the paddle, and it should come back together again.  If it still won’t come together, especially if it’s a warm day, you may need to cool it down for a bit and try again.  Place the buttercream (bowl, paddle, and all) into the refrigerator for a few minutes, then try again.
  10. When all of the fat has been added, turn your mixer to medium low and and add vanilla extract or other flavorings.  Stop the mixer and scrape down the bowl with a rubber spatula a couple of times, to ensure that your flavorings are well-mixed.Italian Meringue Buttercream

Italian Meringue Buttercream stores extremely well in the refrigerator or freezer, so don’t be afraid to make it in advance, or keep some on hand for a rainy day.  Just make sure to take it out and allow to fully return to near room temperature before use.  Then, beat it in your stand mixer if you need to restore the texture.

(*) A Note on Fats: You may be wondering if there are other options beyond 100% palm oil shortening.  Surely there are, but as of this writing, I have not fully explored the options.  See the notes above for a more in-depth discussion about fat options.  Margarines and butter substitutes that come in a tub are probably not suitable, because their moisture content is much higher than products that are sold in stick form.  I will update this recipe as I discover other options that work.

Posted in Frostings | Tagged , , , , | 175 Comments

Vegan Golden Vanilla Cupcakes with Vegan Strawberry Italian Meringue Buttercream

This post is just a tease, really, because it doesn’t contain any recipes or anything.  It’s the result of trying out a new-to-me recipe (the highly-acclaimed Golden Vanilla Cupcakes recipe from the book Vegan Cupcakes Take Over the World), trying to use up some leftover Italian Meringue Buttercream and strawberry puree (you have that stuff laying around your kitchen, too, don’t you? or is it just me?), trying out the technique of incorporating fruit puree into IMBC, and testing just how well aqua-faba-iced cupcakes freeze and thaw.

Vegan Vanilla Cupcakes with Strawberry Buttercream

I promise that a recipe for the Italian Meringue Buttercream will be forthcoming!

Posted in Cakes, Frostings | Tagged , , , , , , | 2 Comments

Cookie Microwave Background

I had intended to make these Cosmic Microwave Background cookies for the Science Festival Chorus post-performance party, but I had too much going on with the Rainbow Prism Cake, so they didn’t get finished in time.  Since I had all of the parts (not to mention an eager 5-year-old in the house), I made them anyway.

CMB Cookies

Basic sugar cookies, icing, an edible ink printer, and some wafer paper, and all of your geeky dreams can come true.

KidCMBCookie

Kid-approved!

Posted in Cookies | Tagged , , | 1 Comment

Egg-Free, Gelatin-Free, Vegan Gumpaste

Gumpaste is an edible, pliable dough that dries hard.  It can be used to make molded figures that will hold fine detail, or it can be rolled out to make fine flower petals and leaves.

10407618_10153473614314179_94184020958320810_n
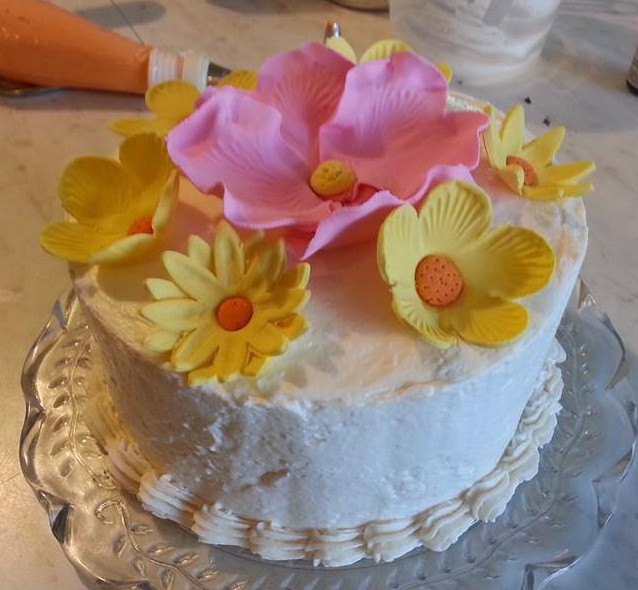
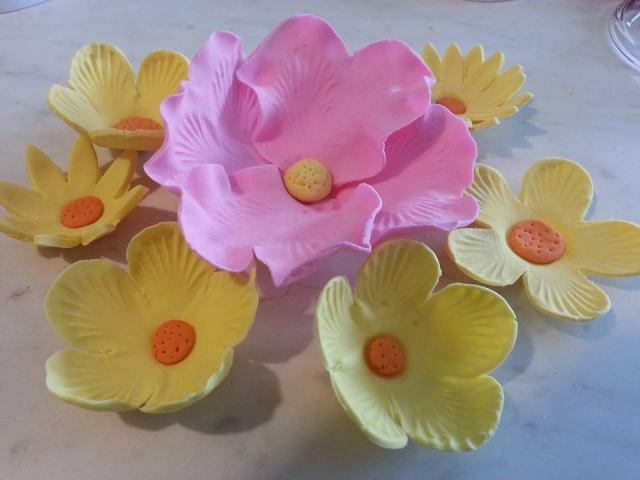
Conventional gumpaste is made with egg whites or gelatin, gum powder, and sugar, making these edible works of art unavailable to those who can’t or don’t eat eggs and gelatin.  Thanks to the wonderful folks at the Vegan Meringues – Hits and Misses Facebook group, we have learned that “aqua faba,” or the liquid drained from a can of beans, can be whipped into stiff peaks much like egg whites.  It can act as an egg white substitute in many recipes, including gumpaste.  For best results, use chickpeas or another mildly flavored bean, but they all work.

Vegan Gumpaste Recipe

Ingredients

  1. 10561630_10153477714274179_5151322778470141430_n1/2 cup aqua faba (the drained liquid from a can of chickpeas or other mild-flavored beans)
  2. 2 pounds powdered sugar (about 8 cups), divided
  3. 4 Tablespoons Tylose powder or Gum Tragacanth (use less if you don’t want it to dry quite so fast)
  4. 4 teaspoons shortening

Directions

  1. Reserve 1 cup of the powdered sugar and set it aside.
  2. Add the chickpea liquid to the bowl of a stand mixer fitted with the paddle attachment. Beat on high speed briefly, until liquid becomes frothy.
  3. Turn the mixer to the lowest setting and slowly add the remaining powdered sugar, making a soft consistency royal icing.
  4. Turn up the speed to setting 3 or 4, until the mixture reaches the soft peak stage. It should be shiny, with peaks that fall over.
  5. If you intend to color the entire batch a single color, add gel or paste food coloring at this point. Aim for a shade darker than your intended final shade, because your creations will lighten as they dry.
  6. Turn the mixer to the lowest setting and sprinkle the gum powder into the mixture slowly.
  7. After the gum has been added, briefly turn up the speed to high in order to thicken the mixture.
  8. Sprinkle some of the reserved powdered sugar onto a flat work surface, and scrape the gumpaste onto it. Rub the shortening onto the palms of your hands and knead the paste, adding the reserved powdered sugar as needed, until the dough is soft, but not sticky.  Note: You may not need all of the sugar! The dough will be at the right consistency if you can pinch it, and your fingers come away clean.
  9. Wrap the gumpaste well with plastic wrap, and place in a well-sealed zip-top bag, pressing out as much air as possible. Place in the refrigerator for 24 hours to allow the paste to mature.
  10. Allow the paste to come to room temperature before use (you can speed this along by kneading a small amount in your hand). Before use, place a small amount of shortening in the palm of your hand and knead this into the paste. Gel or paste food colorings can be kneaded in at this stage.
  11. Gum paste dries out very quickly. Work with only a small amount of the paste at a time, keep all unused portions well-covered at all times. Always wrap the paste well and return it to the refrigerator after use.
  12. Store gumpaste in the refrigerator, or in the freezer (well-wrapped!) for longer storage. If you intend to freeze your gumpaste, allow it to mature for 24 hours in the refrigerator before freezing.
Posted in Frostings | Tagged , , , | 25 Comments

Egg-Free, Vegan Royal Icing

11156303_10153549051979179_4586253457956840215_nRoyal icing is not the sort of icing that you use to cover a cake.

It dries hard, but the meringue within it keeps it lightweight, making it just right for making flowers or other piped, edible decorations in advance, to be placed onto a cake later on.

Royal icing is also used to glue together the pieces of gingerbread houses, and to adorn them with snow-covered rooftops and hanging icicles.

royal icing drop flowers
Once made and fully dried, royal icing decorations will keep indefinitely.

Store them in an air-tight container and keep them out of the light so the colors won’t fade, and you’ll have decorations ready to go at a moment’s notice.


11150975_10153549051859179_8327460172565760427_n

You can even pipe tiny little flowers onto sugar cubes and serve them at your next fancy tea party, or at  bridal shower.

Make sure to pull out the silver sugar tongs for perfectly proper serving…or package them up in cute little bags to give as gifts to folks who like that sort of thing.


Conventional royal icing is made from egg whites (either fresh, or powdered and reconstituted), confectioner’s sugar, and cream of tartar, which is a problem for those who can’t or choose not to eat eggs.  Thanks to the wonderful folks at the Vegan Meringues – Hits and Misses Facebook group, we have learned that “aqua faba,” or rather the liquid drained from a simple can of beans, can be whipped into stiff peaks much like egg whites.  It can act as an egg white substitute in many recipes, and royal icing is no exception.

Egg-Free, Vegan Royal Icing Recipe

10995107_10153477714279179_4914398163554628346_n5 Tbsp. aqua faba (the water drained from a can of of chickpeas or other mild-tasting beans)
1/2 tsp. cream of tartar
1 pound (about 4 cups) confectioner’s sugar

Beat all ingredients on high for 7-10 minutes.  Use immediately.

If you intend to color your royal icing, it’s ideal to add the color while you’re beating it, and to color the whole batch.  If you need to split your batch into multiple smaller batches for making multiple colors, it may lose a bit of its loft if you stir the colors in after the fact with a spoon.  It will still work, but it’s not ideal.

Cupcakes with royal icing flowersRoyal icing dries out very, very fast (except when you’ve piped a beautiful rose and you would like to put it onto your cake…then it will take forever!).  While working with royal icing, keep your bowl carefully covered with a damp cloth, and if you need to set down your piping bag for a few minutes, carefully cover the tip so that it doesn’t dry and clog.

You can pipe royal icing decorations onto waxed paper or parchment paper, and peel them off when they are dry.  If you have trouble with the paper pulling up as you lift your piping bag away, try taping the paper to the back of a cookie sheet or baking pan.

All icings are somewhat sensitive to the heat of your hand when you are using the in a piping bag, and aqua faba royal icing especially so.  While you’re working with it, it may become too soft to get sharp edges on your decorations, so if this happens, place the piping bag into the refrigerator for a few minutes until it stiffens up again.  Don’t forget to cover the tip carefully!

Allow your royal icing decorations to dry completely before storing them in an airtight container, out of the light.

Posted in Frostings | Tagged , , , | 24 Comments

Rainbow Prism Cake

My husband and daughter recently sang in the Cambridge Science Festival Chorus‘s production of

A LITTLE LIGHT MUSIC
Songs of Electromagnetic Radiation

so it seemed only fitting that I should make a cake to match the theme for the post-performance party.

Rainbow Prism Cake

Rainbow Prism Cake

The party guests were wowed by the candy glass prism on top of the cake, and they all rushed to take pictures of it, and to take pictures of themselves standing next to it.

They didn’t realize the surprise that was in store for them once it was cut.

11118983_10152966131217690_8047866922839046493_o

Cut Rainbow Prism Cake, revealing the rainbow layers inside.

Molding the Prism

The first task was to make a candy glass prism.

It’s possible to make candy glass using table sugar, but sugar caramelizes at a lower temperature than the one necessary to make the glass, so it has a slightly golden hue rather than being crystal clear.  For the bright, vivid colors of a rainbow encased in a clear prism, using isomalt was the answer.

Thankfully, once it’s initially made, isomalt glass can be reheated several times for reuse, so I made a single batch of it and tinted small amounts in rainbow colors, using Americolor gel colorings.

Isomalt in rainbow colors

A lovely array of rainbow-colored isomalt.

I had made molds using matboard (the kind used in framing pictures), rolled teflon, and teflon mouse tape.  The molds consisted of two triangular faces for the prism, three rectangular sides, and multiple slats that could be added or removed sequentially to create the stripes of the internal and external rainbows.

Prism Rainbow Internal

Internal Prism Rainbow

Prism Rainbow External

External Prism Rainbow

I heated up each color and poured, then moved on to the next when it has solidified enough.

After pouring all six colors, it was clear to see that they were really separate segments stuck together, but I was able to smooth them out with careful use of a culinary blowtorch, a flat block of wood (protected by teflon, of course), and a weight.

Prism Rainbow

Pretty rainbow!

Assembling the Prism

I assembled the prism by melting the edges with a combination of a culinary blowtorch and using the surface of a cast iron griddle.  It’s delicate, fussy, and somewhat dangerous work (I only got one small sugar burn on a finger), but worth it.  One of the sides was broken during assembly, but I decided we could do without the bottom.

Assembled Rainbow Prism

Rainbow Prism, sans input light beam.

Assembling the Cake

Initially I thought I would make all of the layers from scratch, but the baking aisle at the supermarket tempted me with six perfectly colored cake mixes for a dollar apiece, so they came home with me.  Each mix made a single 8″ layer, and I torted them to approximately 1/3 of their original size (the rest go into the freezer, because surely there will be a future need for rainbow cake?).

I filled between the layers with Italian meringue buttercream, plus a hidden layer of blackberry jam between the blue and violet tiers…since some people feel that dropping indigo from the spectrum is not acceptable.

Rainbow Cake Layers

Rainbow Cake Layers

I iced the outside with the same buttercream, hastily added ridges to the sides, and piped a border.  The candy glass topper was added immediately before serving, so that the moisture from the icing wouldn’t damage it.

Rainbow Cake Frosted

Rainbow Cake, Frosted

Voila!  Rainbow Prism Cake to wow the geeky masses (and wow them it did).

Posted in Cakes, Candy Glass | Tagged , , , , | 8 Comments